Use the exact machine's directions
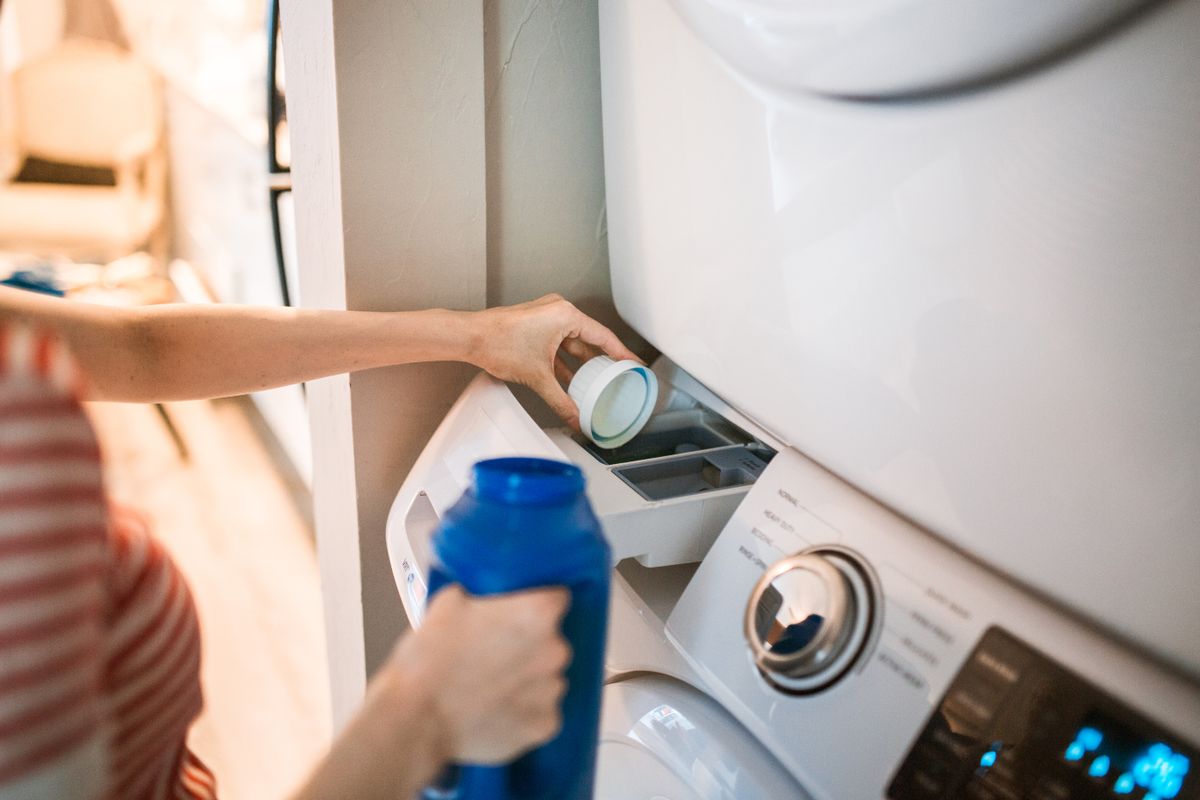
Check the model number and official manual for drawer removal and cleaning. Some compartments contain removable inserts; others have parts that should remain fitted. Follow the stated shutdown procedure and never begin while a cycle is running. Keep a small tray nearby for permitted removable pieces so they do not disappear into the sink. A photograph can help with orientation, but the manual remains the authority on reassembly.
Clean accessible parts gently
Use the permitted water temperature, soft brush and cleaning product. Work around corners without scratching the plastic or damaging small siphon components. Rinse residue as directed and avoid forcing tools into inaccessible openings. Clean the visible drawer housing only by the method the maker allows, keeping moisture away from controls and electrical areas. Do not treat a small visible deposit as a reason to dismantle the machine casing or pour products into unknown passages.
Refit and reduce future build-up
Dry or drain parts as the instructions require and seat every insert correctly before sliding the drawer back. Review the detergent maker's dosage guidance alongside the appliance instructions; adding extra product is not automatically better for washing. Keep powder and liquid compartments distinct where the machine specifies them. If there is persistent leaking, an unusual smell or an error, follow the troubleshooting guidance or contact support. Cleaning a drawer is a maintenance task, not proof that every possible machine fault has been resolved.
Before you call it done
- Find the correct drawer release procedure.
- Keep small inserts together and correctly oriented.
- Check dosage guidance rather than adding extra detergent.
Know the limit. Do not remove fixed panels, reach into electrical areas or combine cleaning chemicals. Stop if the drawer is damaged, leaks continue or the release will not operate normally.