Identify what is already fitted
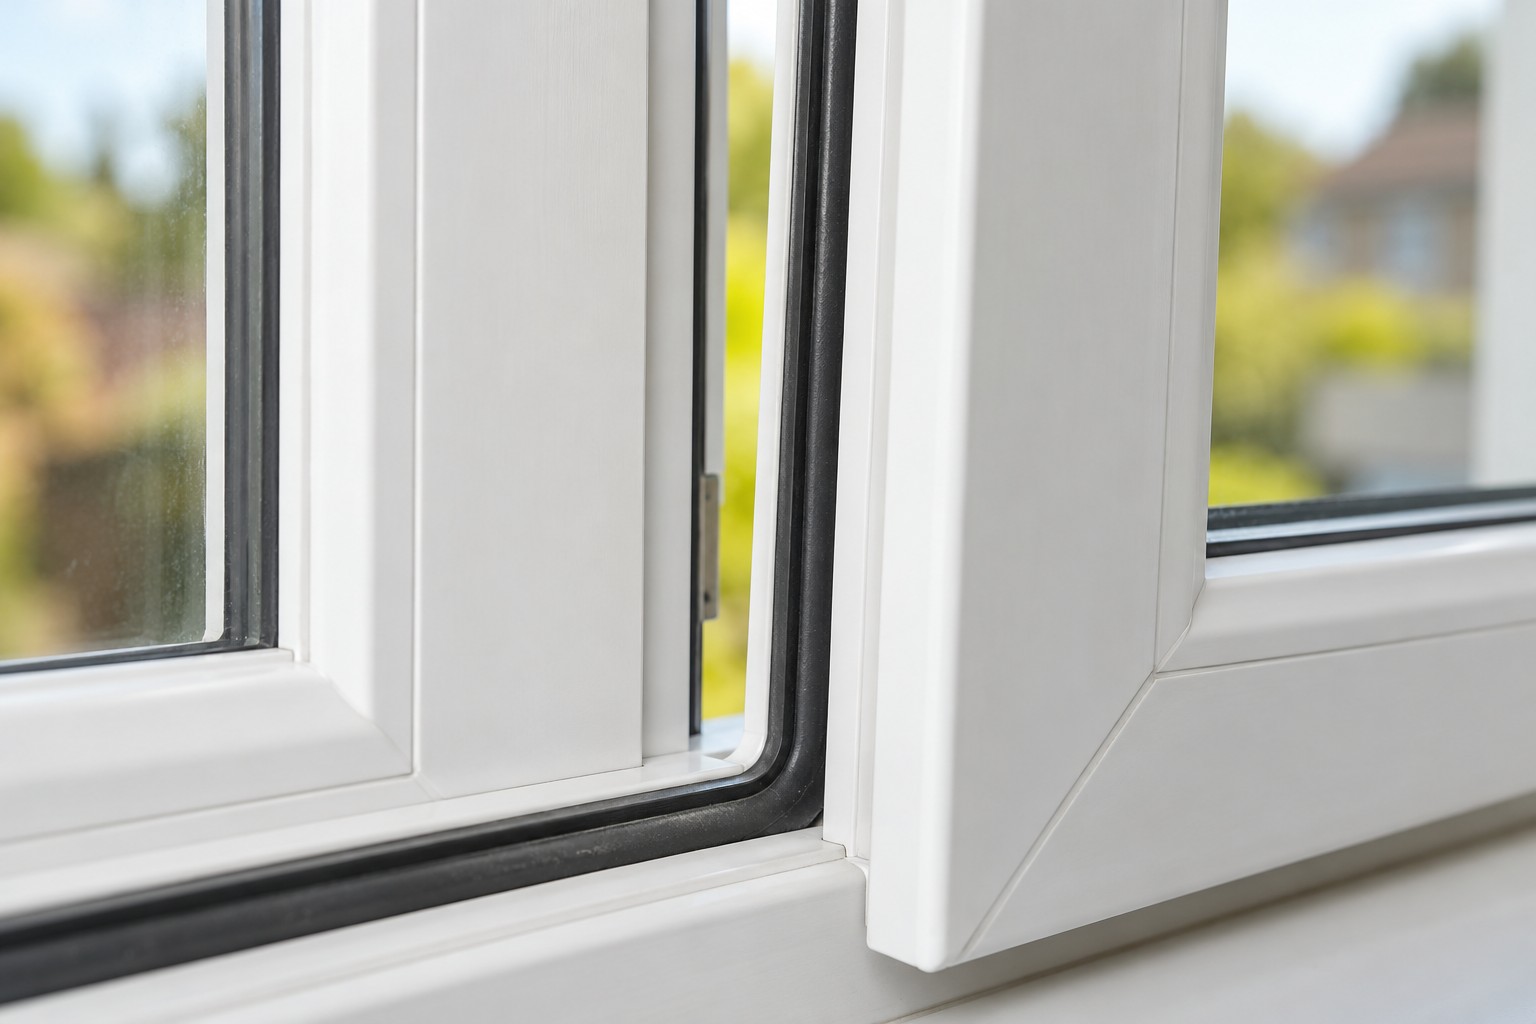
With the opening safely accessible, examine the existing strip at corners and frequently touched areas. Look for flattened foam, hardened rubber, missing sections and adhesive lifting away from the frame. Take a photograph of its cross-section if a loose end is already visible; do not pull out an intact fitted seal just to inspect it. Some seals are part of a window system and need the correct manufacturer replacement rather than a general adhesive strip.
Check the closure and the surface
Close the door or window gently and observe where the strip contacts the opposite face. A strip that is too thick can make a handle difficult to operate or leave other parts poorly seated. Check whether dirt or a displaced seal is causing the apparent gap. Keep drainage openings and purpose-made ventilation clear. Draught reduction is not a reason to block trickle vents, air bricks or any opening needed for safe ventilation.
Replace only a suitable simple strip
For an ordinary adhesive strip on a suitable interior frame, follow its instructions for surface preparation, application conditions and compression. Test a short length before treating the full perimeter. Work from a clean, dry surface and avoid stretching the strip as it is applied, which can leave gaps later. After fitting, check the latch, handle and entire closing movement. Retain the product details so a worn section can be matched later instead of mixing incompatible profiles.
Before you call it done
- Photograph the existing seal profile.
- Keep all designed ventilation openings clear.
- Check that the handle still moves freely.
Know the limit. Do not alter fire-door seals or specialised window gaskets without the relevant manufacturer's guidance.