Identify and support the material
Confirm that the timber is new, bare and appropriate for your intended project. Check for splinters, embedded fixings and rough edges before handling it. Support the piece securely on a protected bench so it cannot slide, keeping fingers away from the working edge. Read the abrasive and finish guidance to choose a sensible grit sequence. The aim is to remove roughness gradually, not to erase a deep defect by hollowing out one small area.
Work evenly with the grain
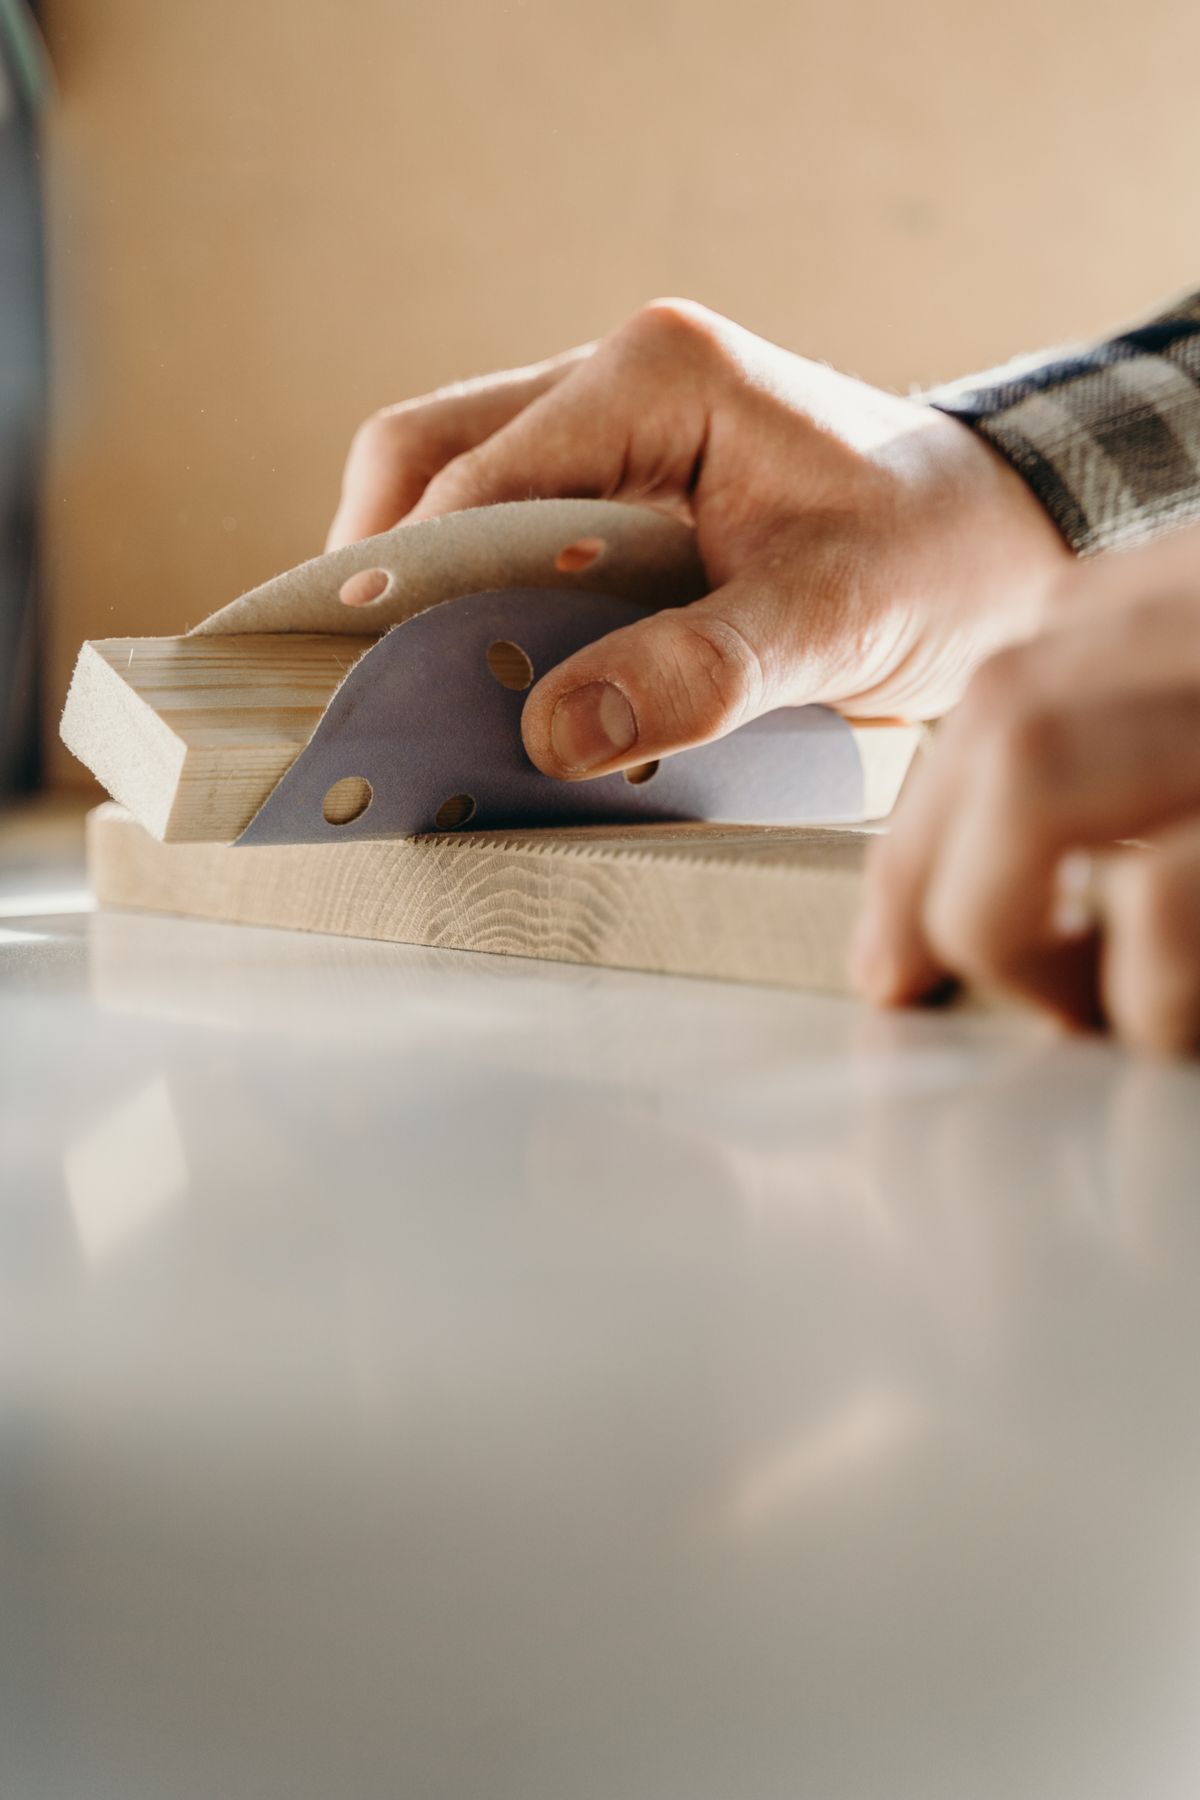
Use a sanding block where a flat surface is required and make controlled passes along the grain. Avoid pressing hard at the ends, which can round them unevenly. Check the surface frequently by looking across it in good light rather than continuously sanding the same patch. Manage dust with suitable extraction, ventilation and protective equipment for the material and task. Keep food and drinks away from the work area and avoid blowing dust into the room.
Prepare for the chosen finish
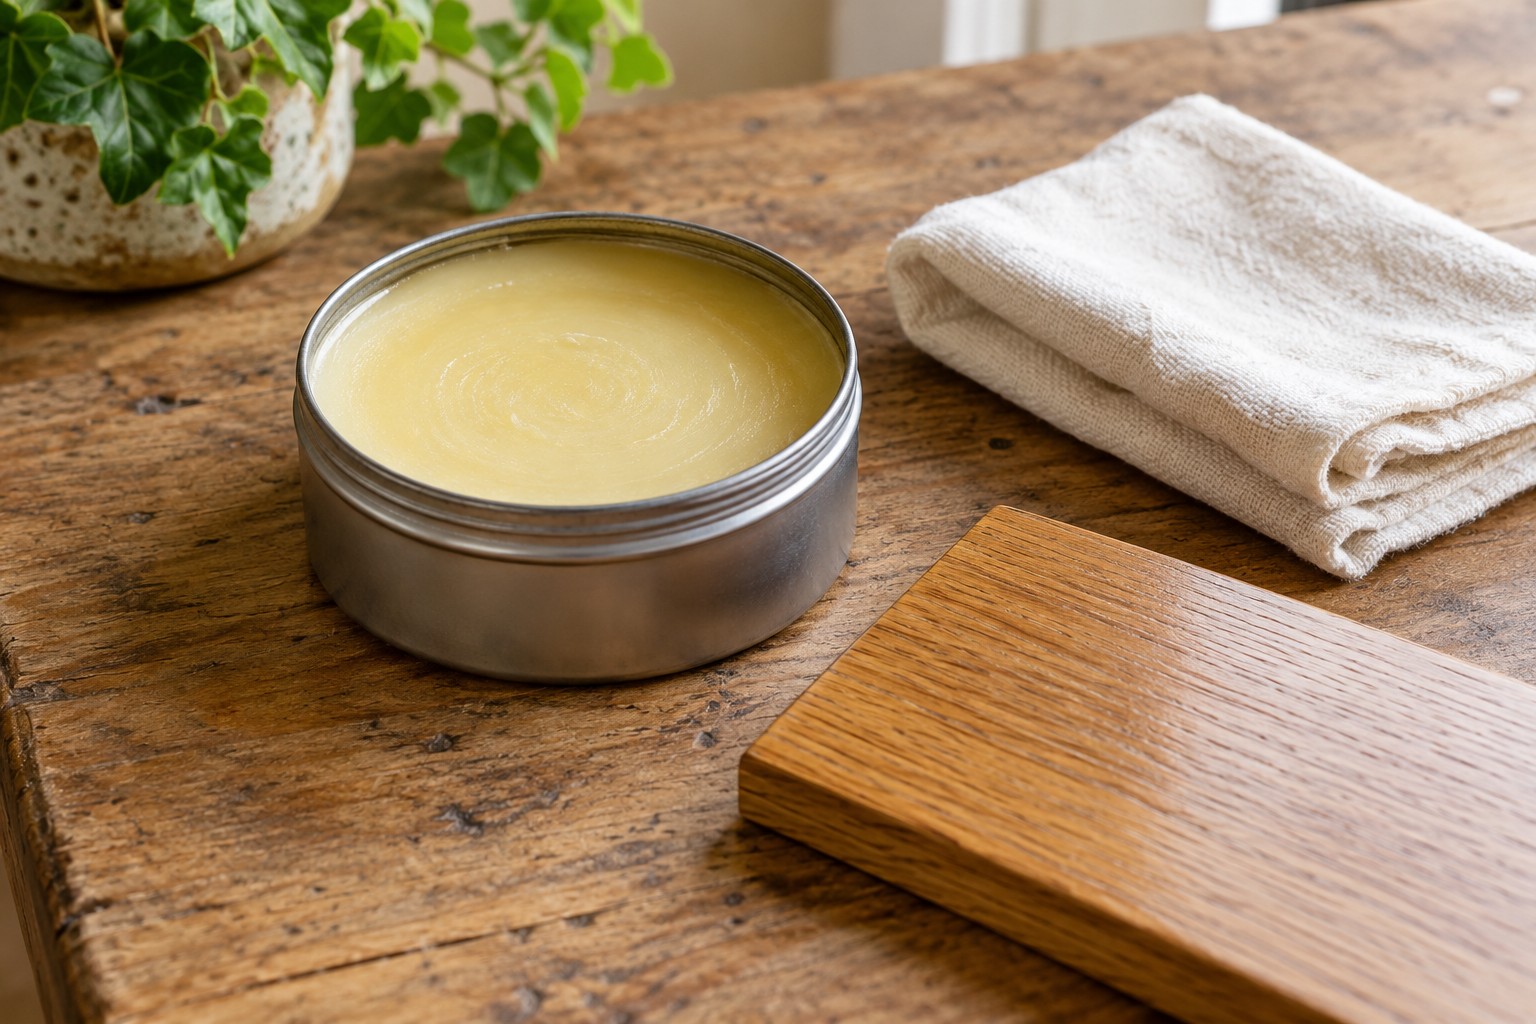
Remove sanding dust using the finish manufacturer's recommended method, then examine the piece for remaining scratches. Test the planned coating on an offcut or discreet area, since preparation affects how a stain or finish looks. Do not jump to a much finer abrasive without checking whether the finishing system calls for it. Clean the workspace carefully and store used abrasives away from finished surfaces. If the material turns out to have an unknown coating, stop and reassess before continuing.
Before you call it done
- Use only identified new, untreated timber.
- Keep flat areas supported by a sanding block.
- Follow the finish maker's preparation sequence.
Know the limit. Do not sand old painted or unknown treated material; hazardous coatings need identification and appropriate specialist advice.