Ask whether tapping is actually permitted
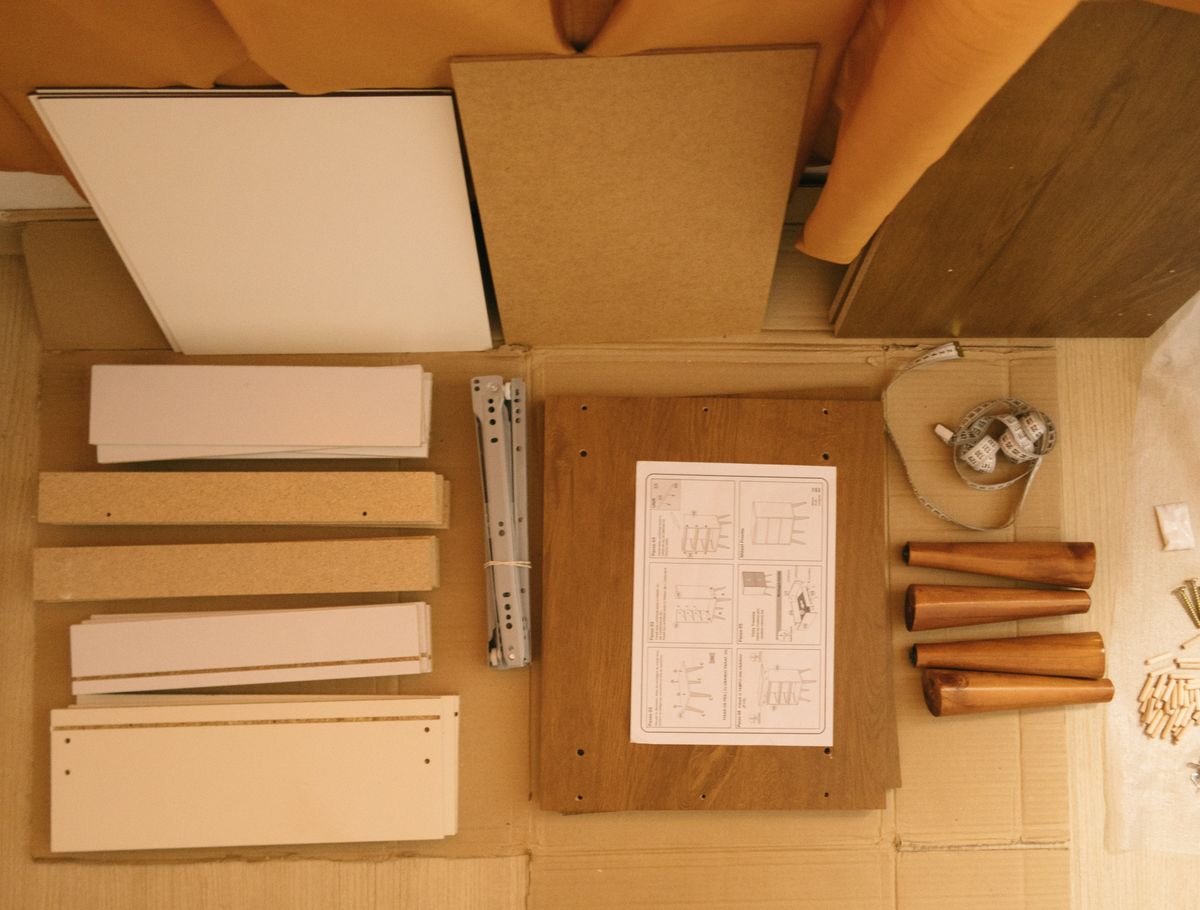
Some flat-pack furniture is designed to fit with hand pressure alone, while other instructions explicitly call for a mallet. Follow that distinction. Before tapping, check the part number, orientation and position of dowels or connectors. A joint that stops abruptly may contain a misplaced fixing. Forcing it can split a panel or drive hardware through a visible face, leaving damage that cannot be hidden later.
Check the face and protect the work
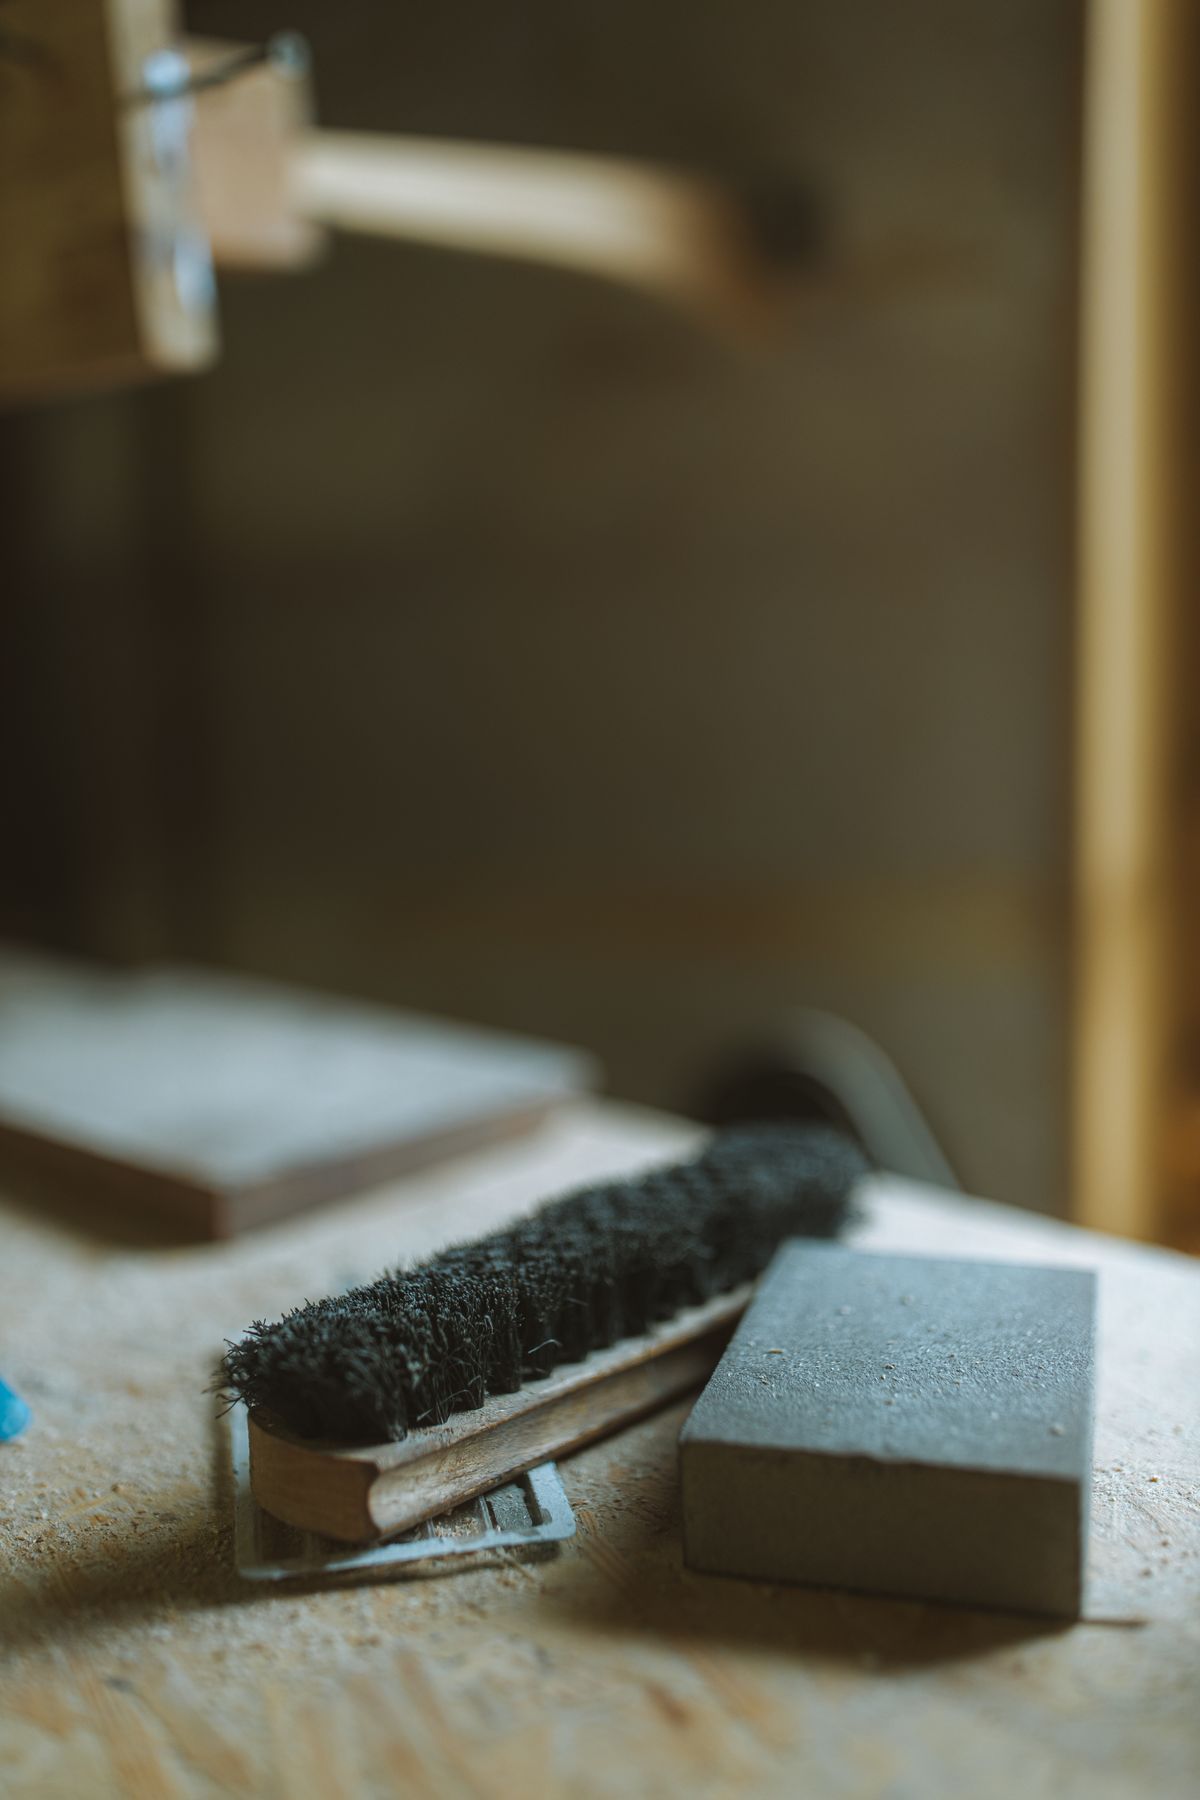
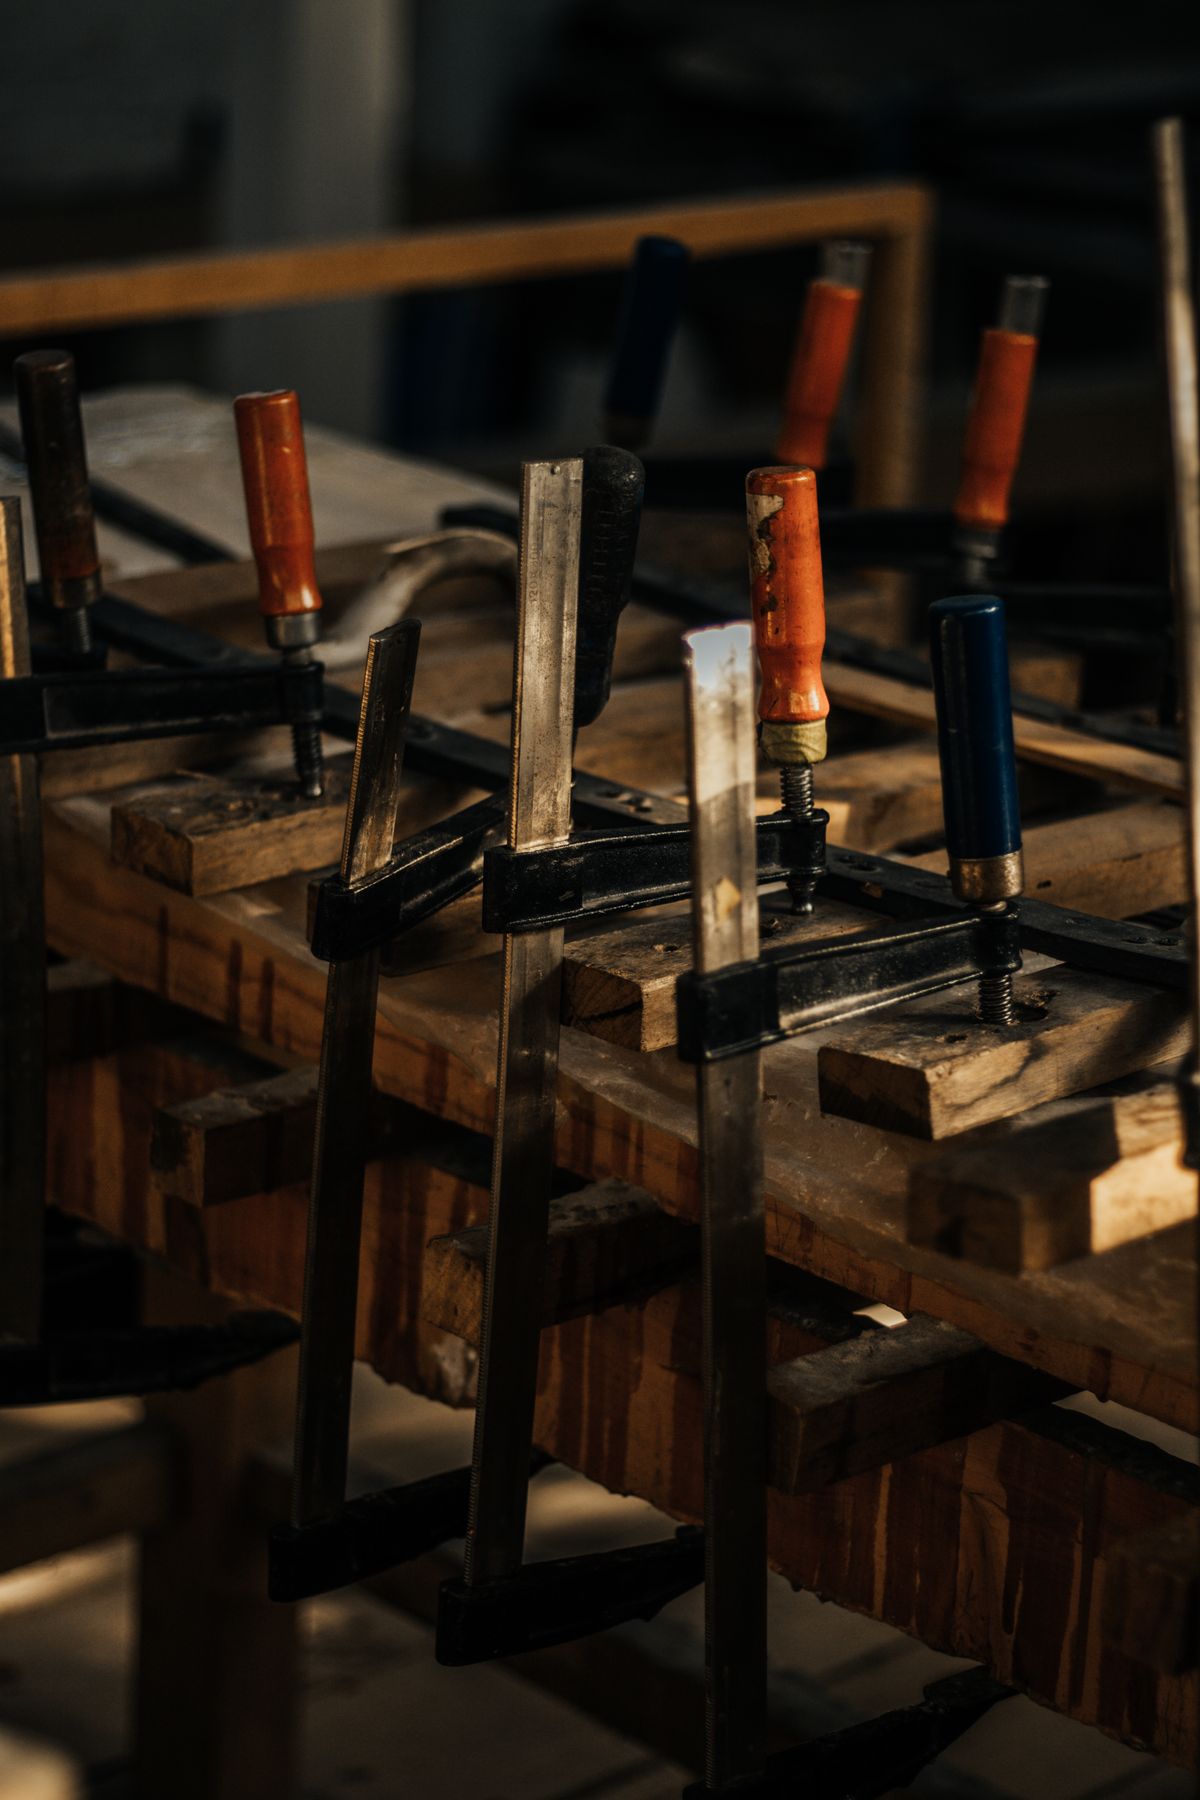
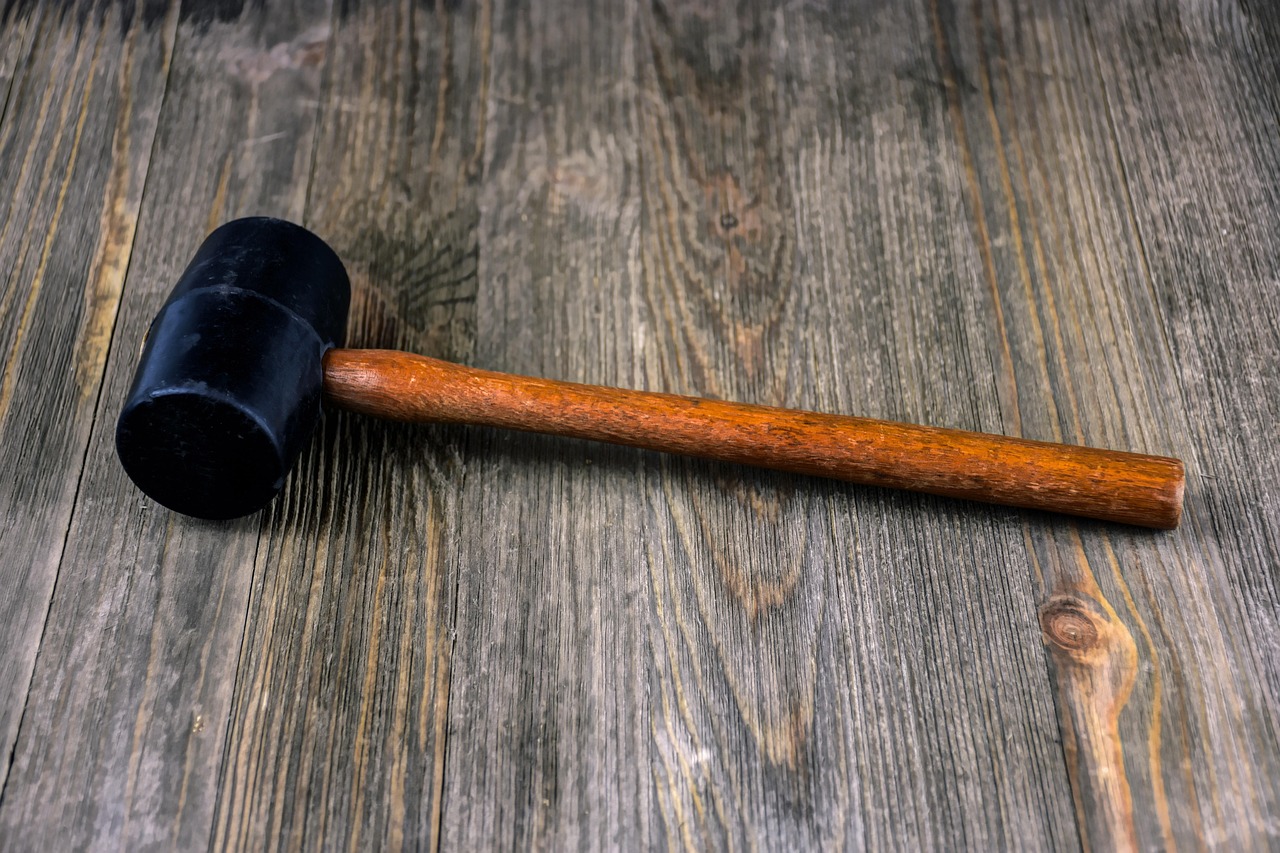
Inspect the mallet face for embedded grit, splits and hardened patches. Dark rubber can mark some light surfaces, so test only where appropriate or use the manufacturer's recommended protective block. A clean block should spread pressure across a suitable area rather than focus it onto a fragile edge. Support the piece securely on a stable surface. Keep your free hand away from the contact point, including the space underneath a block.
Use small, observable movements
Begin with a light controlled tap and inspect the joint before repeating. The aim is a measured adjustment, not a harder blow with every attempt. If the part does not move as expected, stop and revisit the instructions. Never strike glass, delicate fittings or an unsupported thin panel. After assembly, look for new gaps or distortion and confirm that all required connectors are properly engaged. Put the mallet away clean so grit is not carried to the next finish.
Before you call it done
- Confirm that tapping is allowed for the assembly.
- Inspect the mallet and any protective block.
- Check alignment after each light adjustment.
Know the limit. A rubber head does not make striking safe for every material. Do not improvise impact repairs on brittle, pressurised or safety-critical components.