Match the mark to the surface
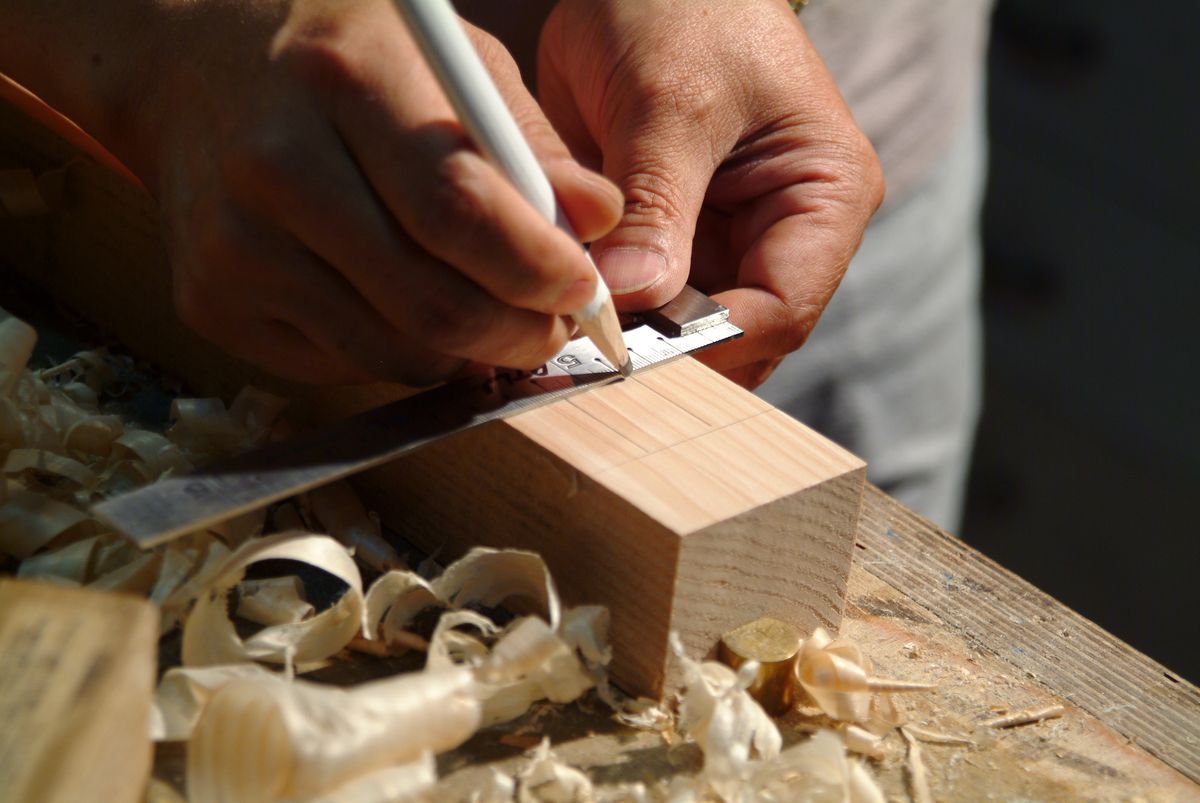
A sharpened pencil often suits unfinished timber and paper plans, while a marker may bleed into porous surfaces or remain visible through a finish. Chalk can rub away too easily on a handling surface. On a finished item, consider marking a suitable removable tape instead, after checking the tape on an inconspicuous area. Some coatings are delicate, so even low-tack tape is not automatically safe to leave in place.
Decide what the line represents
A thick line creates uncertainty unless you know which edge is the actual measurement. Use a fine mark where accuracy matters and add a small arrow or label to show the reference point. For pairs of matching parts, mark an identifying letter on a hidden, appropriate area so the orientation stays clear. Avoid a dense collection of old pencil lines that makes the newest instruction hard to distinguish from a discarded idea.
Test removal before the visible mark
Try your chosen pencil, chalk or tape in a discreet place and use the surface manufacturer's permitted removal method. Do not assume that rubbing harder, using solvent or applying an abrasive will be harmless. Remove obsolete marks promptly once the task is complete, particularly adhesive tape that may become harder to release with time. Keep a soft cloth nearby and stop if colour transfers from the finish itself. A temporary paper label can be better than any direct marking method.
Before you call it done
- Test both application and removal discreetly.
- Use a fine, unambiguous reference mark.
- Label orientation before separating matching parts.
Know the limit. Never mark directly on electrical parts, valuable artwork or an unknown delicate finish. Use external notes or consult the item's care guidance instead.