Inspect the parts your hand relies on
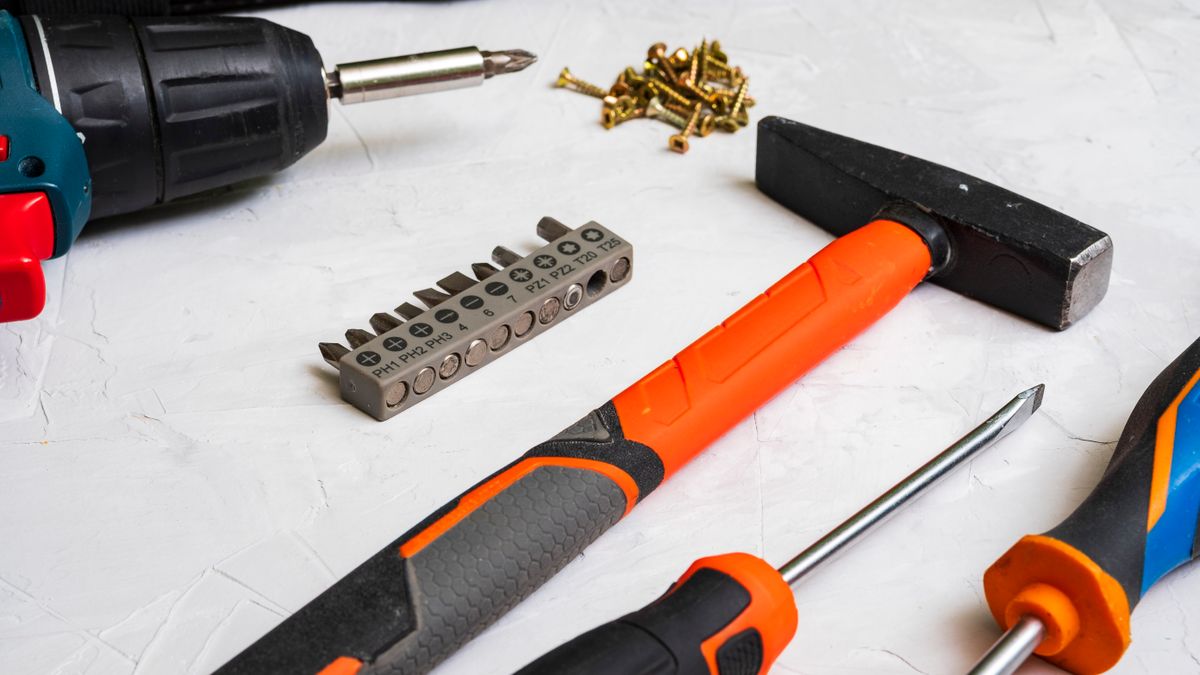
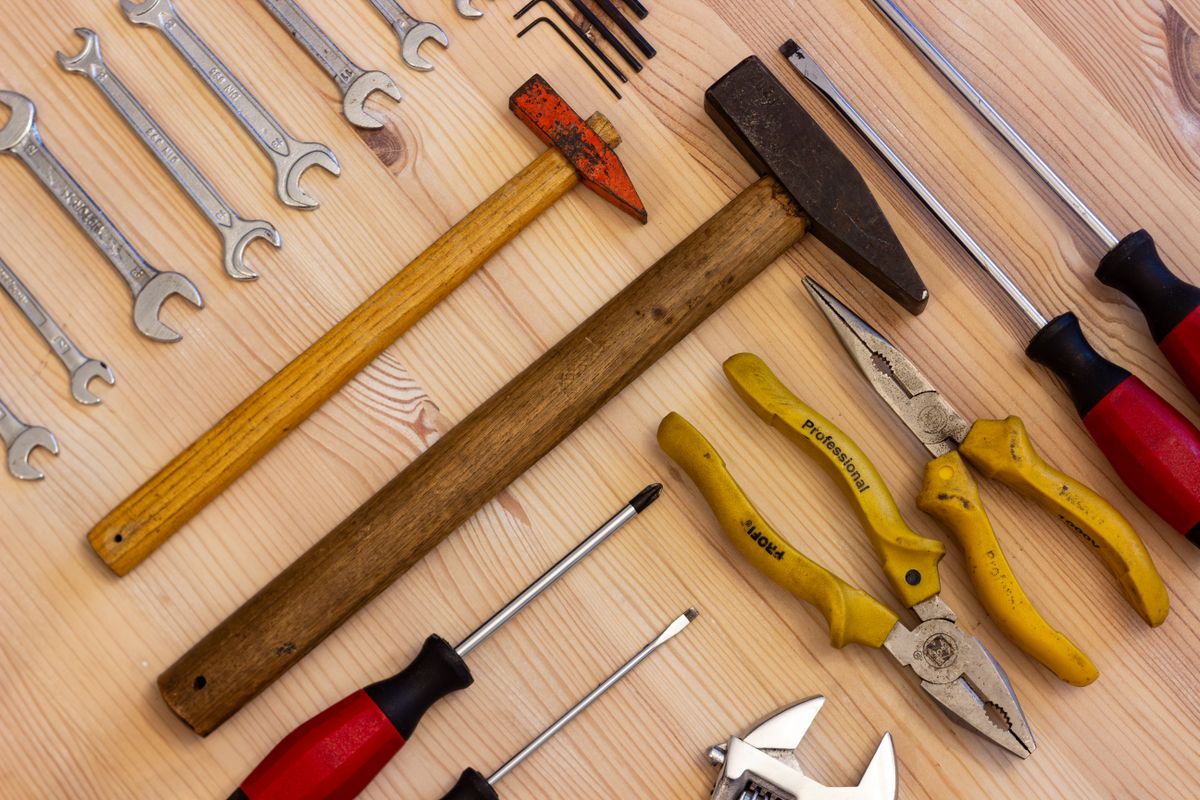
Look along handles for cracks, loose coverings, splinters or movement at the joint with the metal shaft. Check that grips are dry and free from oil. A screwdriver with a loose shaft or a hammer with a shifting head should be removed from use. Do not wrap a damaged handle in tape and treat the problem as solved; tape can hide a defect while doing nothing to restore strength.
Look at the working end
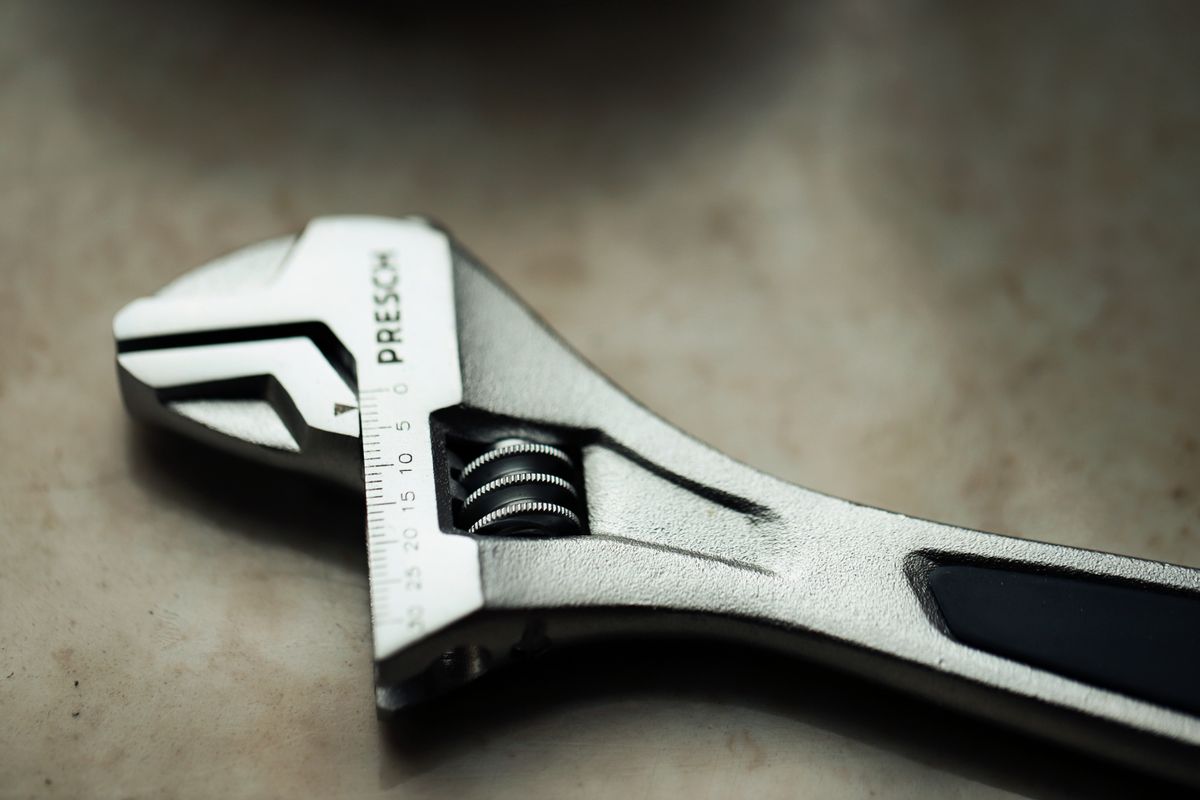
Check screwdriver tips for rounded edges, plier jaws for damage and adjustable spanners for excess play or a jammed adjustment. Compare the tool with its original intended shape where possible. Rust is not only cosmetic if it obscures a crack or affects moving parts. Follow the maker's maintenance advice; grinding, heating or reshaping a hand tool can change its properties and is not a general household repair method.
Separate, label and replace
Keep suspect tools out of the ready-to-use kit so someone else does not pick them up unknowingly. A simple note describing the fault is more useful than leaving the item at the bottom of the drawer. Replace consumable tips and other user-replaceable parts only with suitable equivalents. After the check, put sound tools back clean and dry. Before every actual task, still make a brief check of the specific tool; a monthly inspection cannot catch a drop that happened yesterday.
Before you call it done
- Check handles and working ends separately.
- Remove suspect items from the usable kit.
- Follow maker-approved maintenance instructions.
Know the limit. Do not test a damaged tool by applying extra force to see whether it holds. If its integrity is uncertain, replace it or seek the manufacturer's advice.