Read the size across the flats
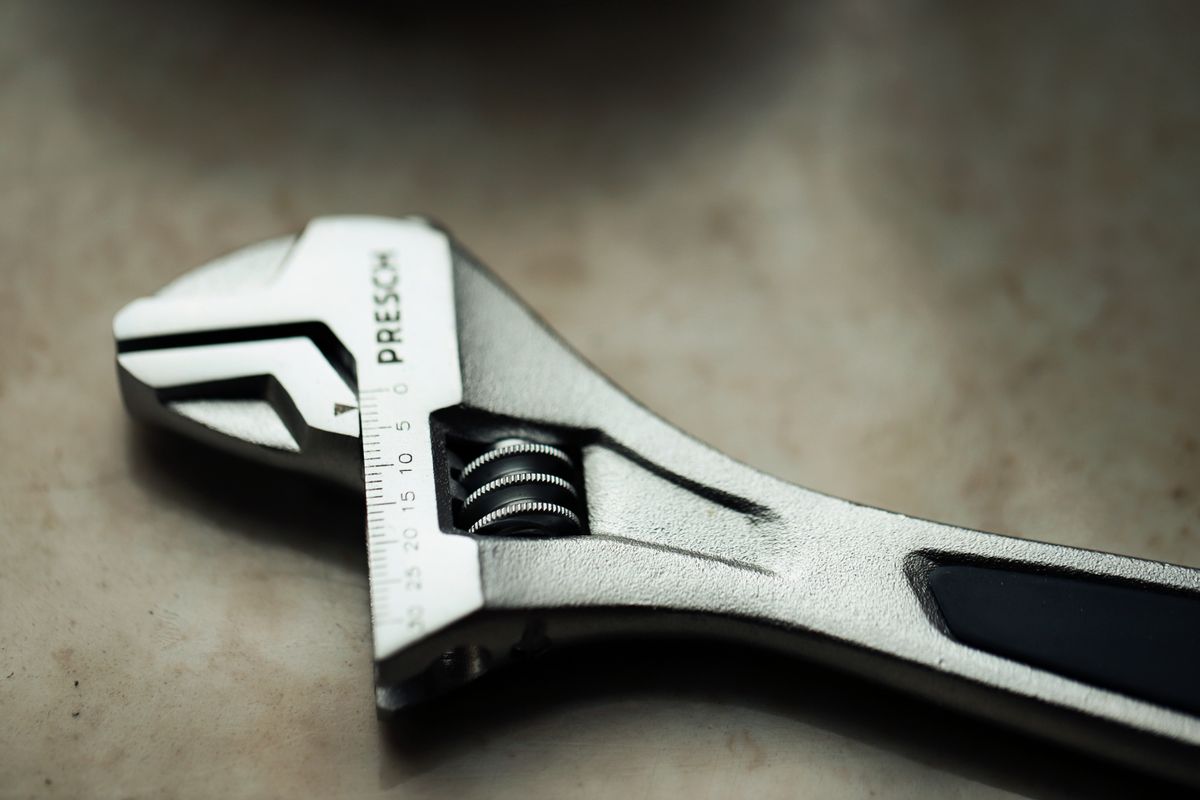
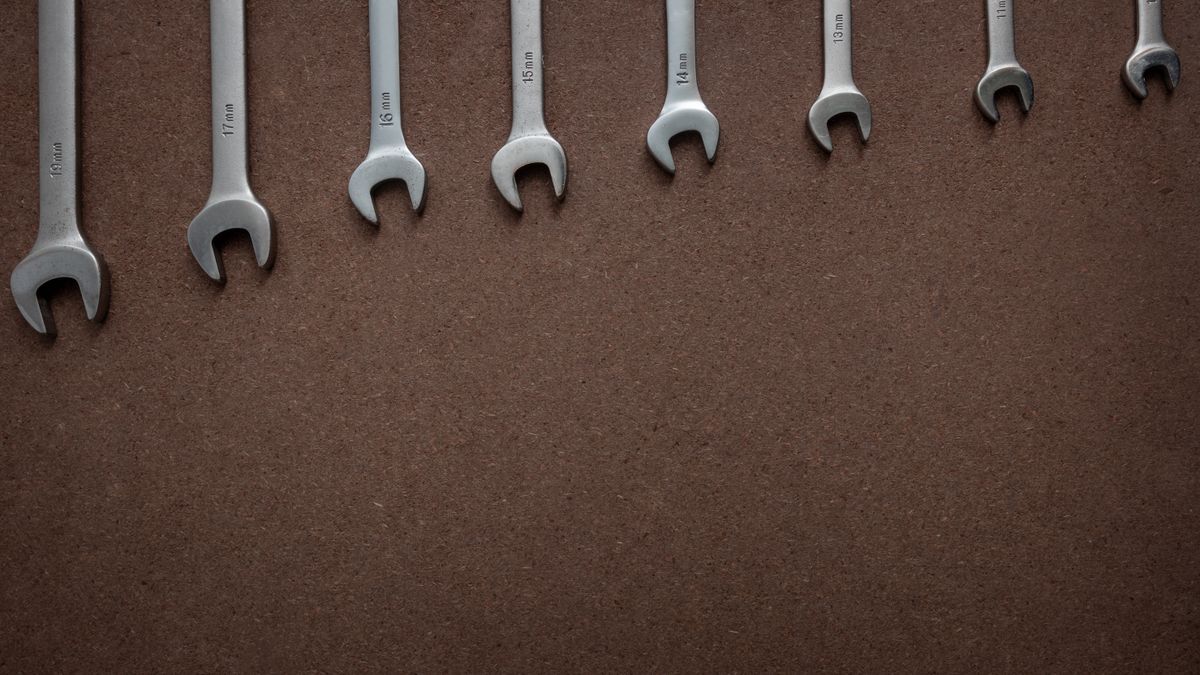
Spanner size describes the distance across the nut's opposing flat faces, not the thread diameter. If instructions specify a tool size, start there. Otherwise try clean, undamaged spanners gently until one fits closely without needing to be forced on. Keep metric and imperial sizes clearly separated. A size that is only slightly too large can feel usable but load the corners instead of the flats.
Choose an end that seats properly
A ring end can surround the nut when there is enough access; an open end is useful where the tool must approach from the side. Neither should sit half on the nut because another part is in the way. Check that the tool is not cocked at an angle and that the work is supported. If access prevents a proper fit, find the intended assembly sequence or tool rather than using the spanner's very tip.
Turn with room for your hand
Plan where your hand will move if the fixing releases suddenly. Use controlled hand force and follow any specified torque or assembly guidance. Do not strike an ordinary spanner, add an extension pipe or link two spanners together for extra leverage. If the nut is already rounded or will not move within a sensible hand-tool task, stop. For small household assemblies, replacing damaged hardware with the exact approved part may be more appropriate than forcing it.
Before you call it done
- Match the distance across opposing flats.
- Seat the tool fully before turning.
- Keep a clear path for your hand.
Know the limit. This guide excludes vehicle, gas, plumbing and structural connections. Those can have specific torque, sealing or inspection requirements that a simple spanner check does not address.