Confirm that the surface is suitable
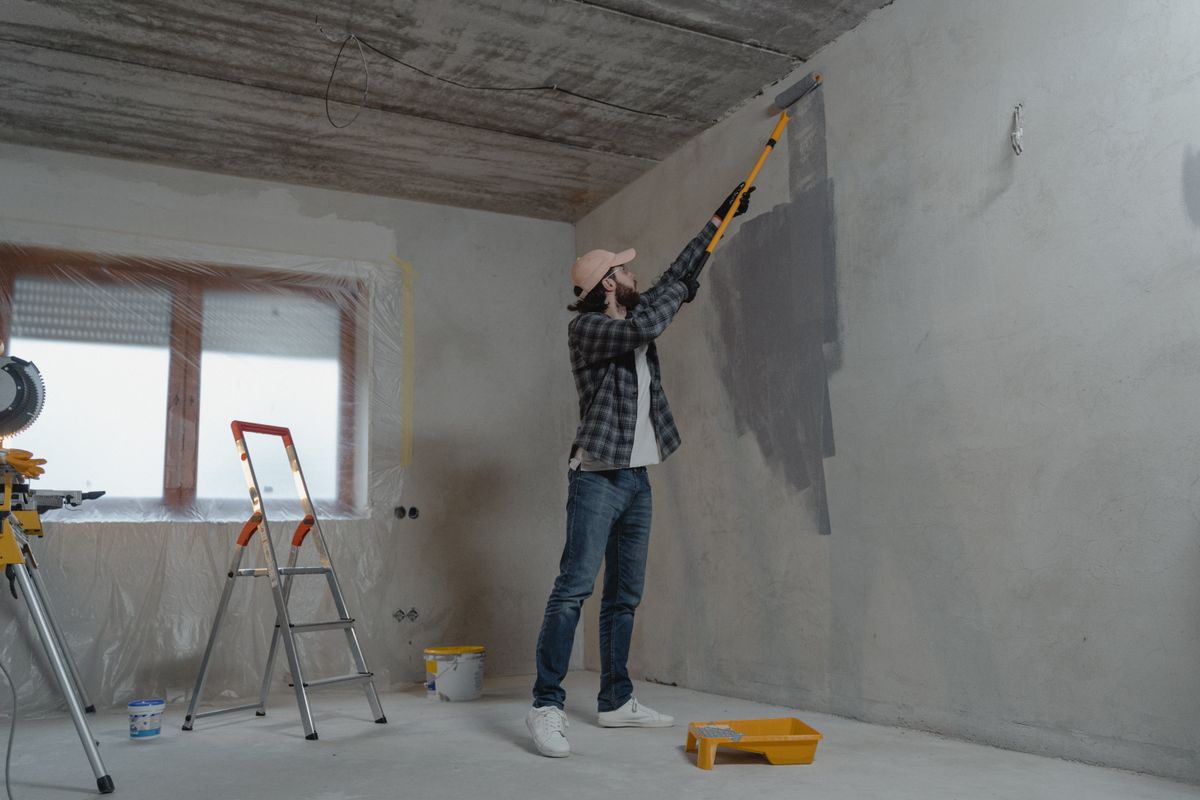
Inspect the hole and surrounding finish in good light. Check that the plaster is firm and dry and that the opening is genuinely small. A widening crack, loose patch, repeated staining or an unknown textured coating needs a different assessment. Obtain permission if required in a rented property. Select filler intended for the surface and the stated hole size, and read its preparation, drying and finishing instructions before opening the container.
Apply only what the hole needs
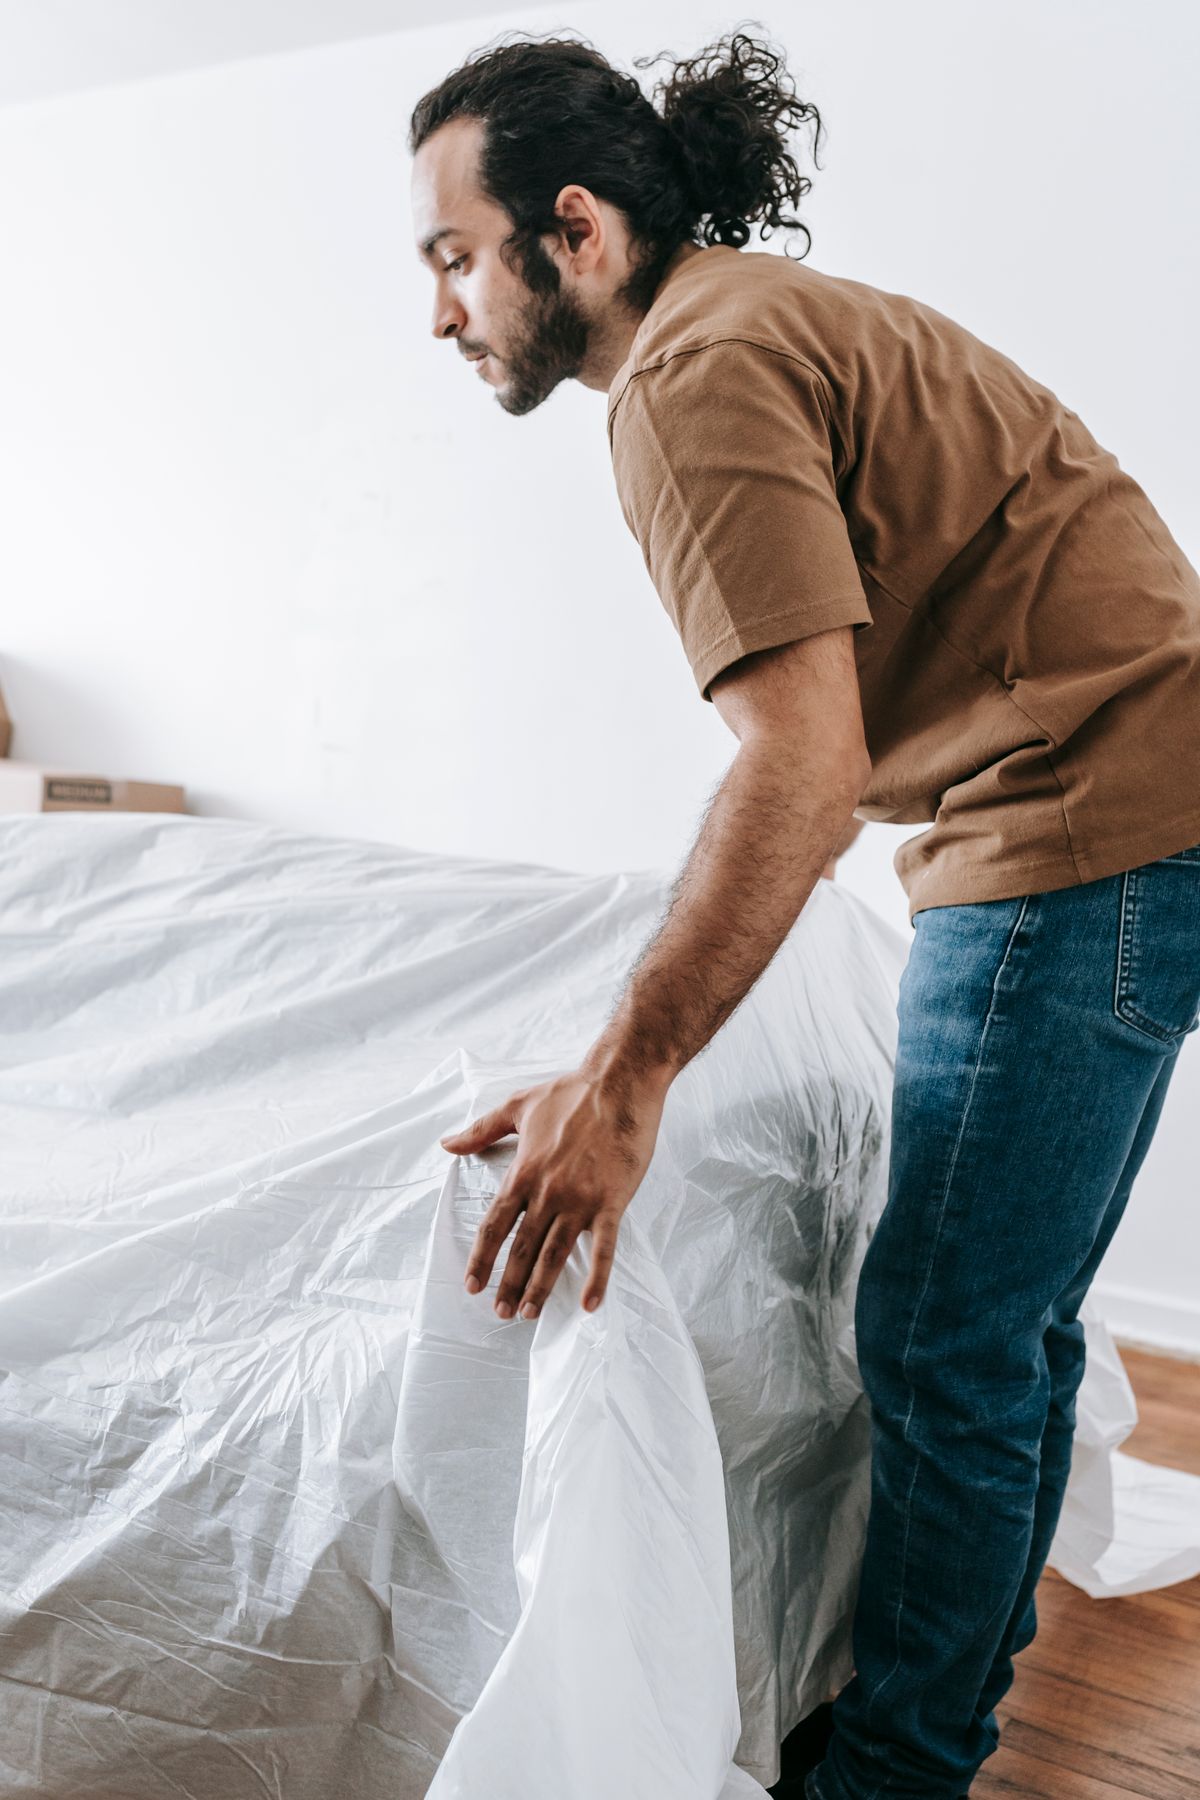
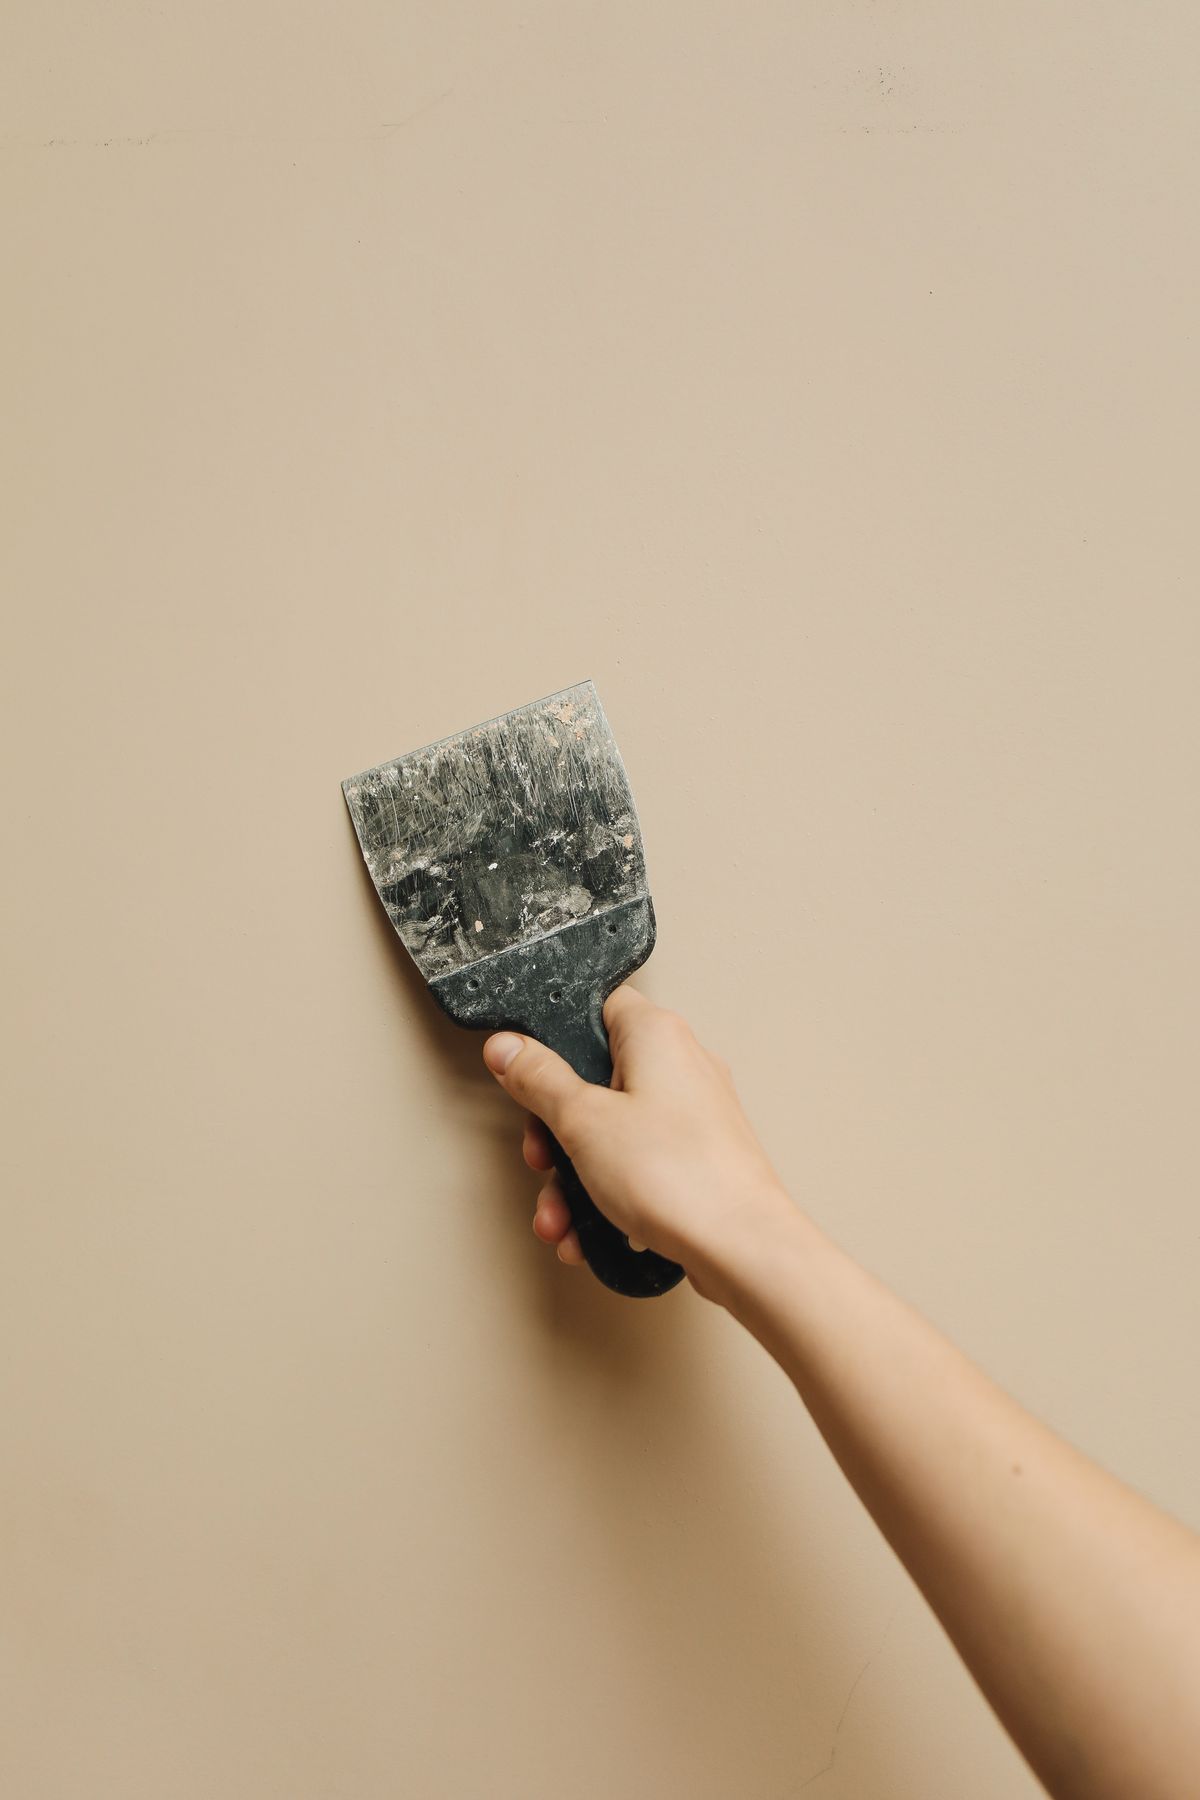
Protect the floor and remove only loose superficial dust by the permitted method. Do not enlarge the hole with a tool or probe behind the wall. Use a small clean applicator to press the suitable filler into the opening and remove excess across the surface, following the product directions. Keep the patch local rather than spreading a broad mound over sound paint. Allow the full specified drying time; a dry-looking skin may not mean the repair is ready for finishing.
Blend carefully without disturbing old coatings
If the filler instructions require further finishing, consider the age and identity of the surrounding paint before any abrasion. Unknown old coatings should not be sanded casually. A compatible finishing method and test touch-up may be appropriate on a confirmed suitable surface. Check the repair in side light, since a raised patch can remain visible even after painting. Keep expectations realistic: the existing wall's texture and paint ageing may make a complete invisible match difficult.
Before you call it done
- Limit the task to tiny cosmetic pin holes.
- Use filler rated for the actual surface.
- Allow the stated drying period before finishing.
Know the limit. Do not fill active cracks, damp areas or holes in unknown hazardous coatings without appropriate assessment.