Measure the existing fixing pattern
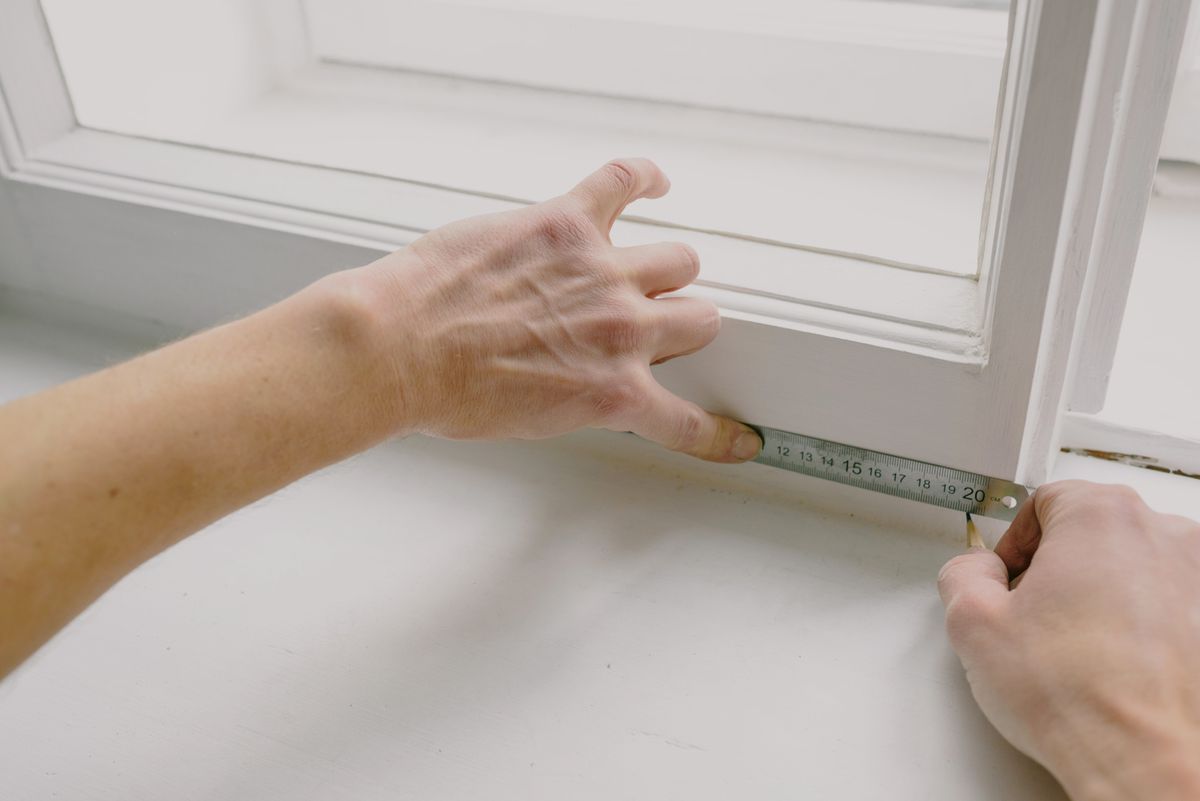
Open the door or drawer and identify the fasteners without removing hardware that supports anything else. For a two-screw handle, measure between the centres of the holes, not the outside ends of the handle. For a single knob, note the screw arrangement and any base plate. Record the cabinet front thickness and photograph the existing fittings. Keep all measurements in one labelled unit and repeat the centre measurement to catch an easy mistake.
Check projection and everyday use
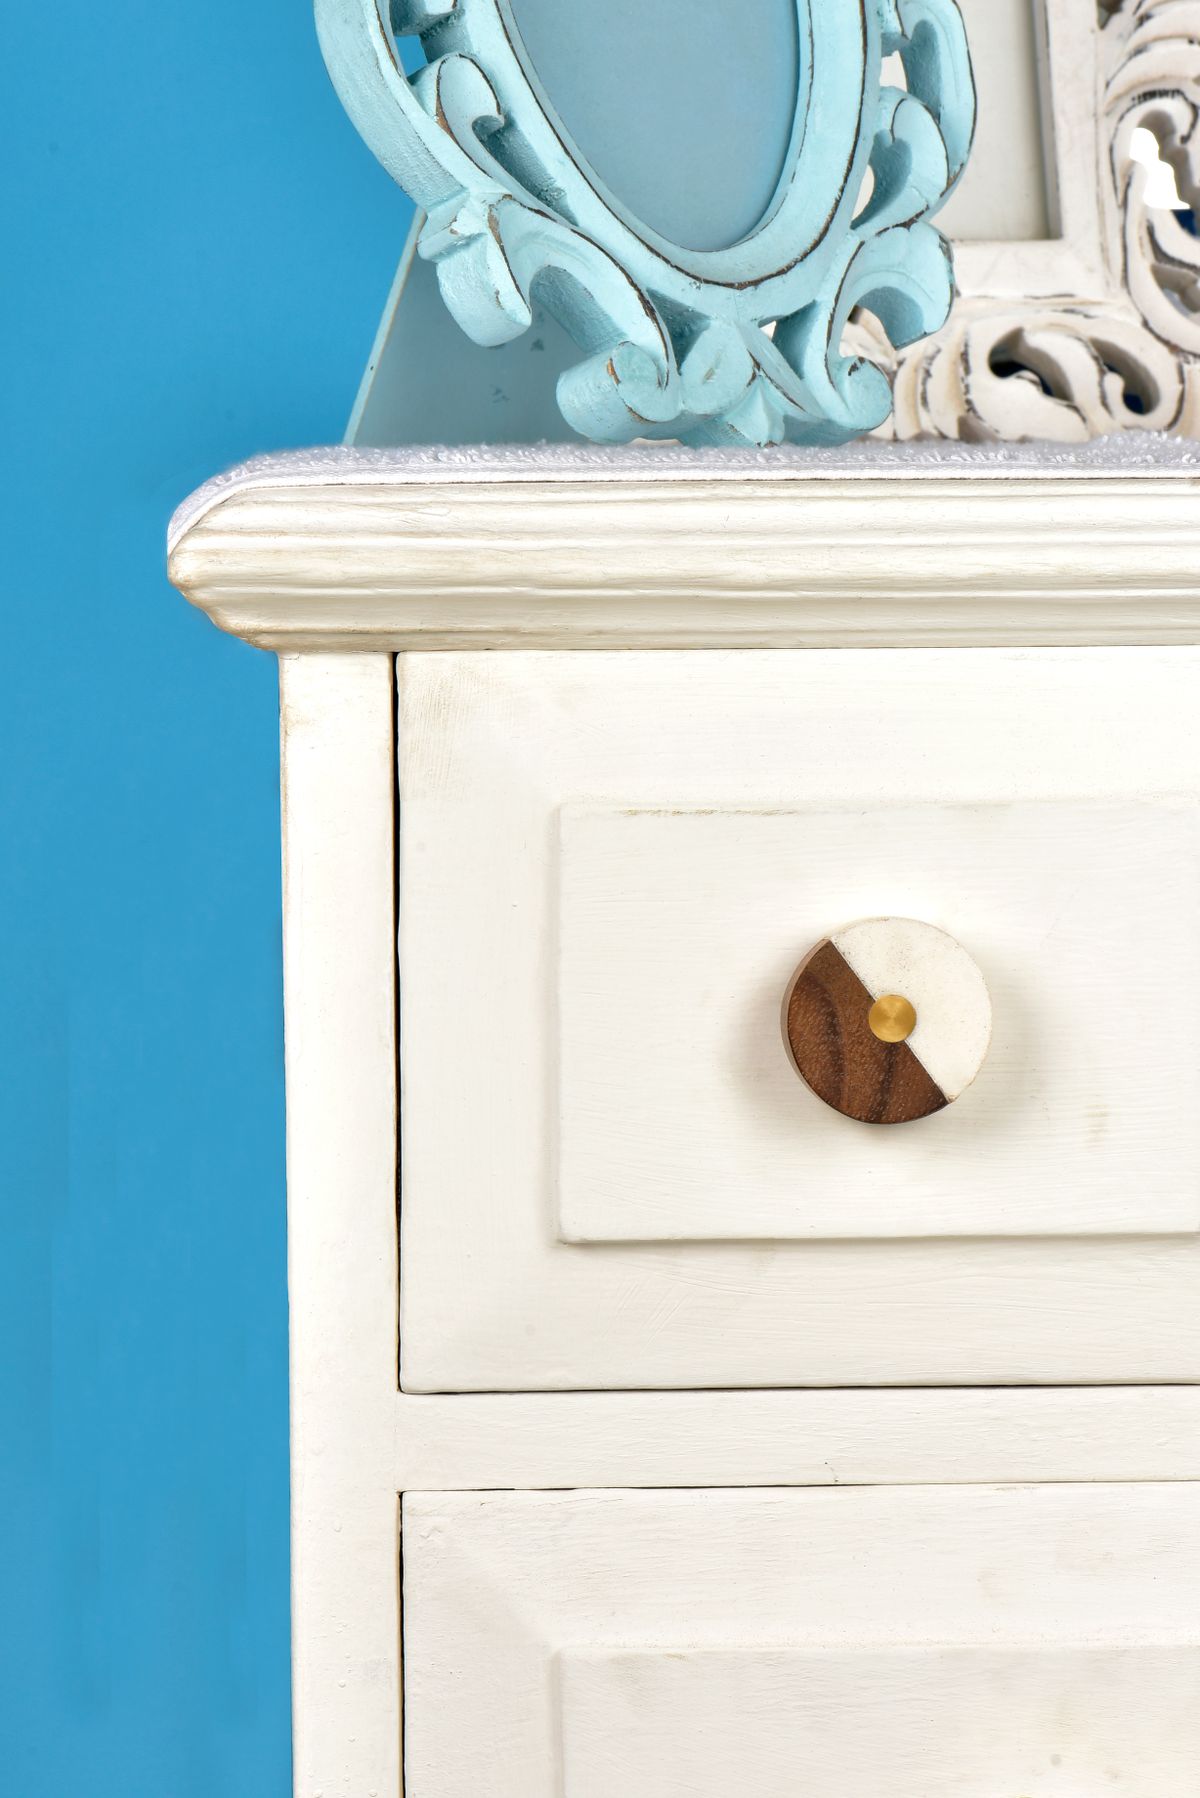
Measure how far the current handle stands out and consider the space needed for fingers. Open adjacent drawers and doors to check whether a larger replacement could collide with another handle or a wall. Notice whether the old base has left a visible mark that a smaller new fitting would expose. Compare the product drawing, not just a styled photograph. A handle's overall length and its fixing centres are different dimensions and should not be confused.
Verify supplied screws before installation
Check the replacement maker's requirements for screw thread, length and door thickness. A screw that bottoms out can leave a handle loose, while one too short may not engage adequately. Do not force a similar-looking thread into the handle or cut hardware without an appropriate safe method. Trial-fit one compatible handle gently with the correct hand tool, supporting it against the face. Keep the old set together until you are satisfied with fit, clearance and everyday comfort.
Before you call it done
- Measure hole centres separately from overall length.
- Check finger space and neighbouring door movement.
- Match screw thread and length to the product.
Know the limit. Do not enlarge holes or force incompatible screws just to make an incorrectly sized handle fit.