Define the usable opening
Measure the space the item must actually pass through, not just the widest point behind the frame. Hinges, handles, door stops and projecting trim can reduce clearance. Sketch the opening and label the front and rear. For a cupboard, note whether the door opens far enough to allow a rigid insert through. A dimension taken after removing a door is not the same as the everyday usable opening.
Use a method your tool supports
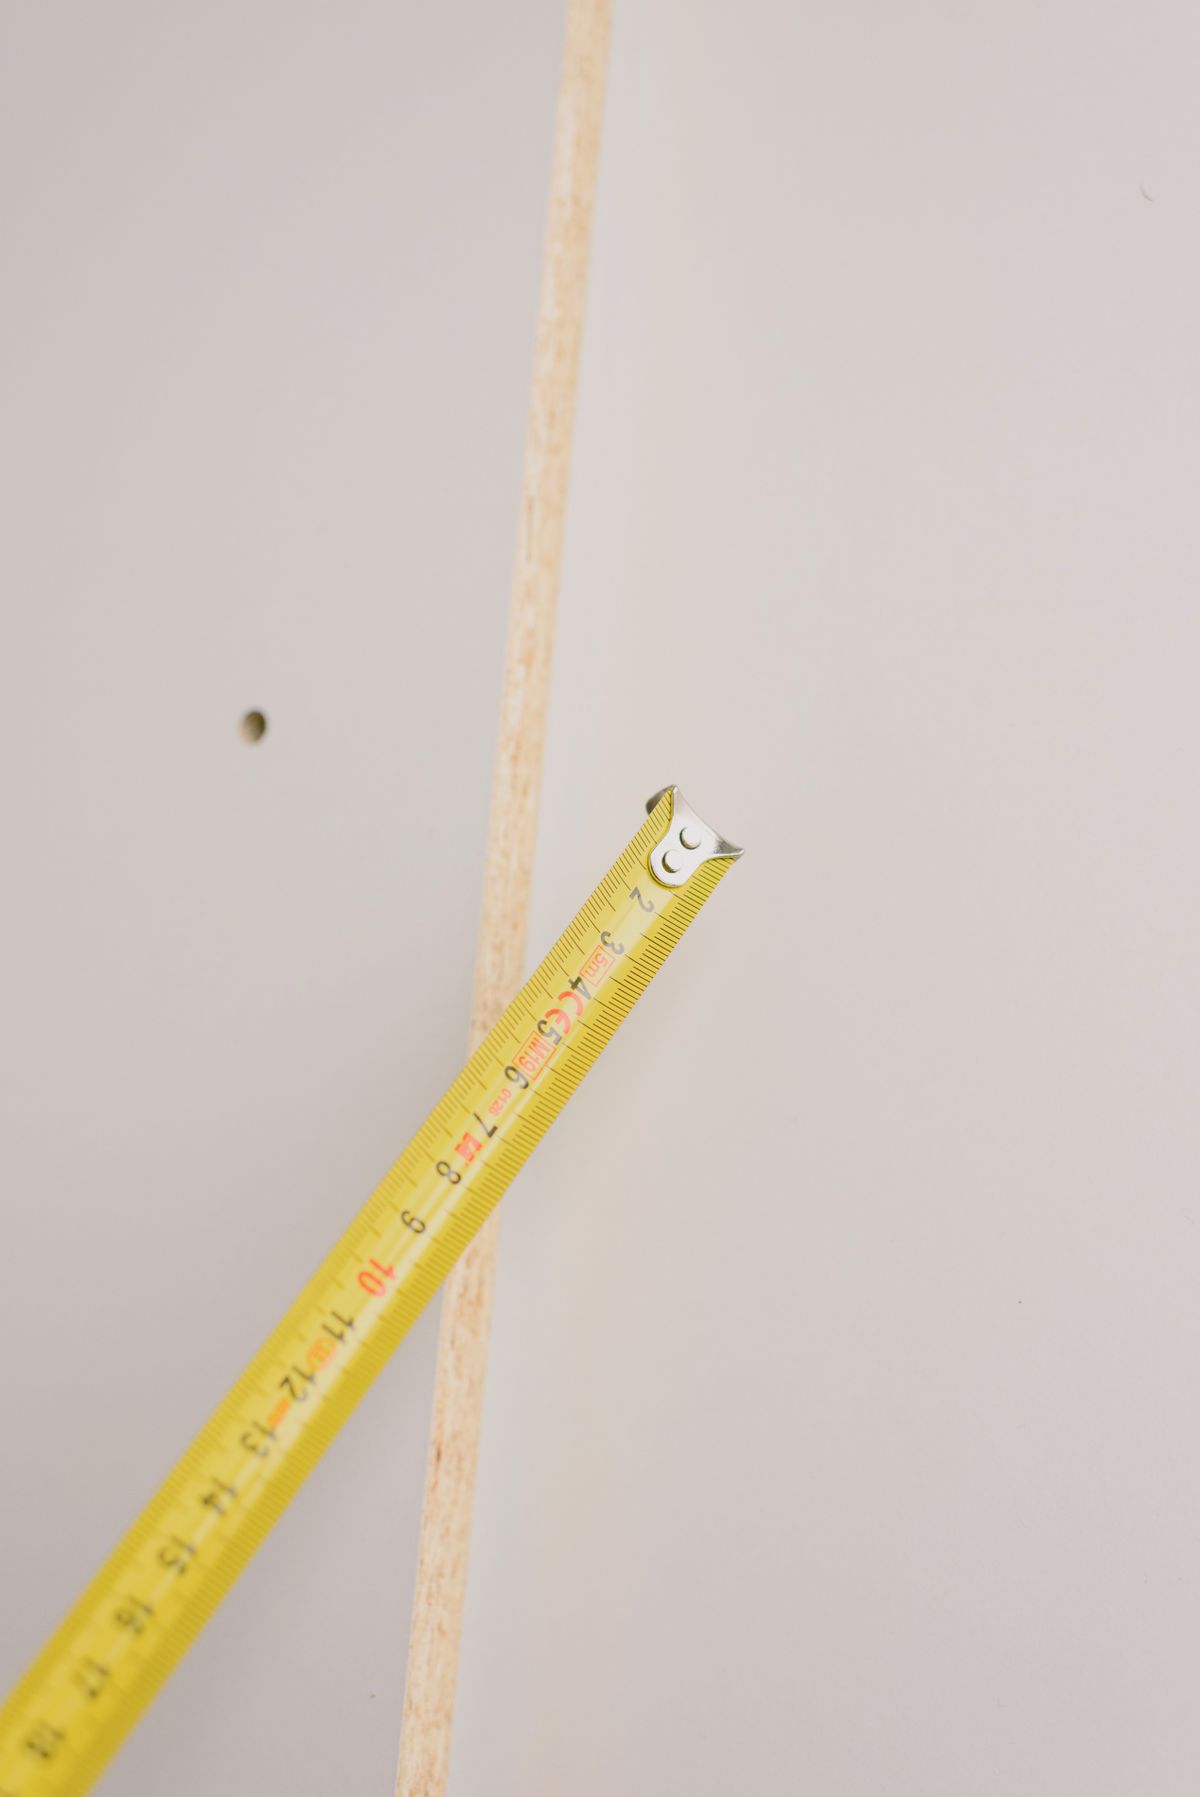
Some tape measures show their case length for inside measurements. Only use that method if the maker identifies the relevant case dimension and explains how to position it. Another option for a modest opening is two overlapping rigid rulers, held level and read carefully, provided the markings are clear. Do not assume a random tape case has a convenient round-number length. Avoid forcing a flexible strip into a sharp curve and estimating where the corner begins.
Check for variation and clearance
Take measurements at the top, middle and bottom, or front and back as appropriate. Record the smallest usable dimension rather than averaging away an awkward narrow point. Add the clearance required by the item maker rather than inventing one universal allowance. Check depth as well as width, including rear obstructions. When ordering a close-fitting item, compare your recorded dimensions with the seller's definition of product size, since external measurements and required opening measurements are not always the same.
Before you call it done
- Measure the route into the space.
- Check the tool's inside-measuring method.
- Record the smallest usable dimension.
Know the limit. Do not reach into electrical cabinets, remove fixed fittings or climb onto unstable furniture to obtain a measurement. Use a safer access method or professional assistance.