Inspect after the area has dried
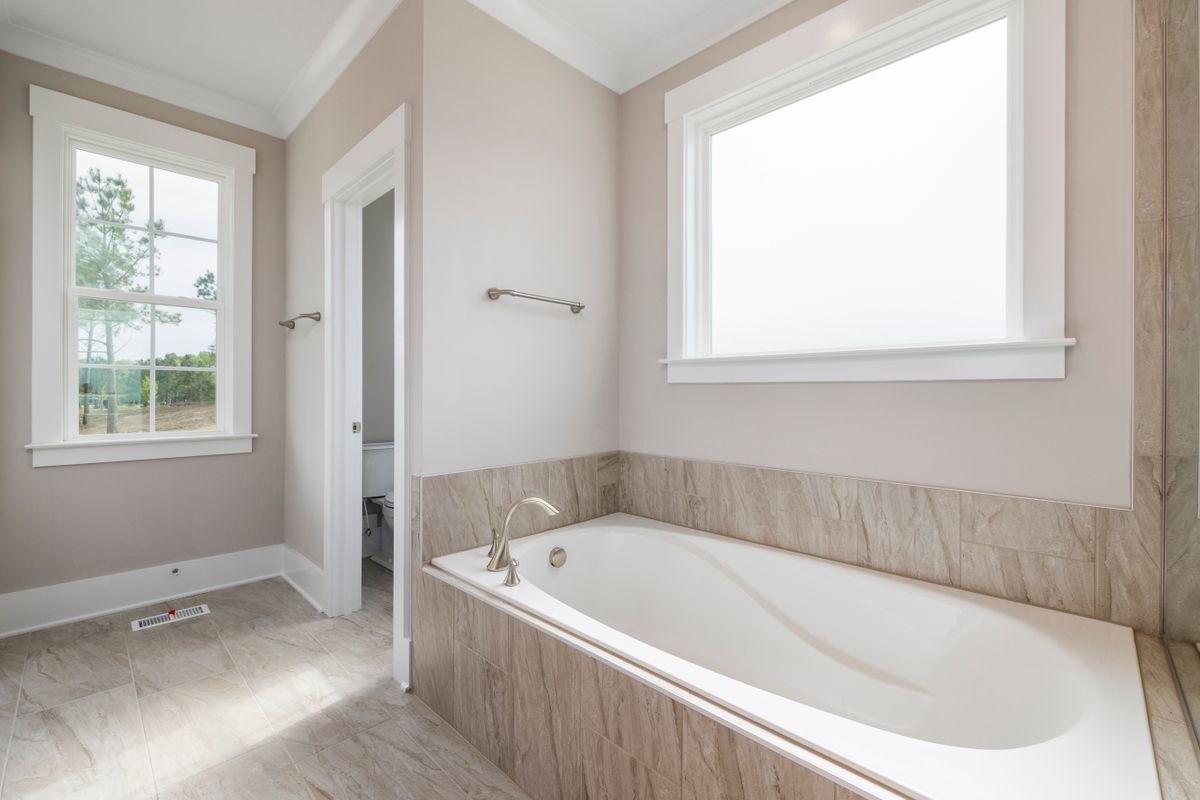
Use good light and look along the bead where it meets both surfaces. Pay attention to corners, gaps, splits and sections that have lifted. A photograph can help distinguish an old stain from a growing defect over time. Do not dig with a fingernail or a blade: that can create an opening that was not there before. Check nearby accessible floor and panel surfaces for unexplained damp or swelling.
Keep cleaning separate from diagnosis
Use only a cleaner approved for the bath, sealant and adjacent surfaces, following its instructions. Discolouration alone does not tell you whether a joint is watertight, and a clean-looking bead can still have a gap. Do not combine cleaning chemicals or apply a fresh bead over an unknown damaged one. If water appears outside the intended wet area, avoid further use that could worsen it while you arrange an assessment.
Describe the defect precisely
Note the affected length and whether the separation is against the bath, wall or both. Share photographs with a landlord or suitable tradesperson and mention when the area was last dry. Proper replacement may require removal, drying, compatible materials and the correct joint preparation, which is different from a quick cosmetic cover-up. After a professional repair, follow the stated curing and use instructions rather than judging readiness only by whether the surface feels dry.
Before you call it done
- Inspect both edges of the sealant bead.
- Photograph changes without probing the joint.
- Follow the repair product's stated curing period.
Know the limit. A suspected leak or moving bath needs assessment; do not treat it as a simple surface-cleaning problem.